Before installing EagleEyes to your mobile phone for remote surveillance, make sure you have checked the following:
1 Your mobile platform is Symbian.
2 Mobile Internet services are subscribed and available to use for your mobile phone.
Note: You might be charged for Internet access via wireless or 3G networks. For the Internet access rate details, please check with your local network operator or service provider.
3 Your DVR or network camera is powered on and connected to Internet.
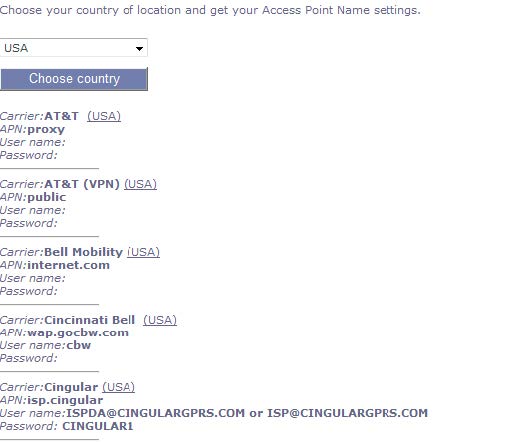
4 You have noted down the IP address, port number, user name and password used to access your DVR or network camera from Internet.
Step 1: Connect to http://www.eagleeyescctv.com from your mobile phone, and sign in.
Note: Please DO NOT try to download EagleEyes from your computer.
Step 2: Select the download link from the website to start downloading.
Step 3: When the download is completed, EagleEyes will be installed automatically to the location where all applications are saved in your phone by default, or where you specify.
Setup for Symbian
Note: The screen shots below are taken from Nokia N97 as an operation example and may look different from the ones you have.
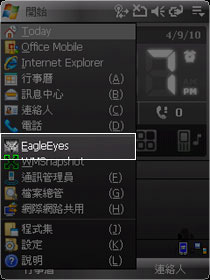
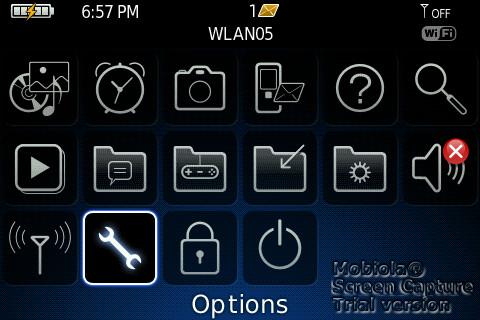
Step 1: Browse to where EagleEyes is installed by default on your mobile phone when the installation is completed. Taking Nokia N97 as an example, go to the main menu, and select “Applications”.
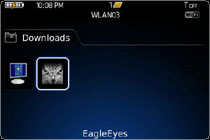
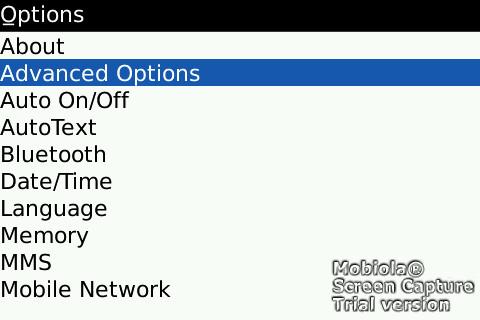
Step 2: Then, find  (EagleEyes), and select to enter the address book of EagleEyes.
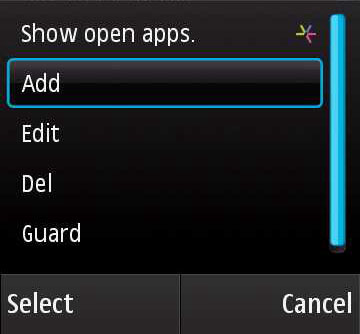
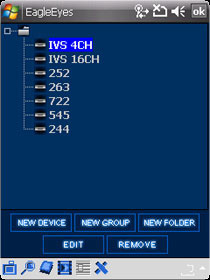
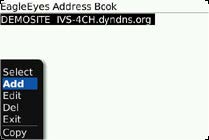
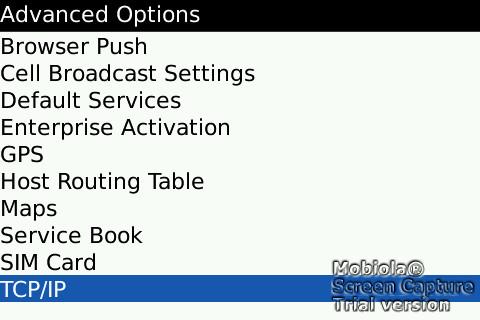
Step 3: Press “Options” to show the available options. Select “Add” to add new device connection.
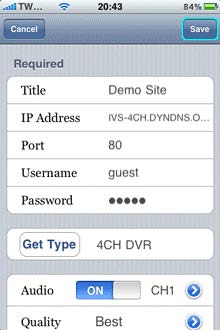
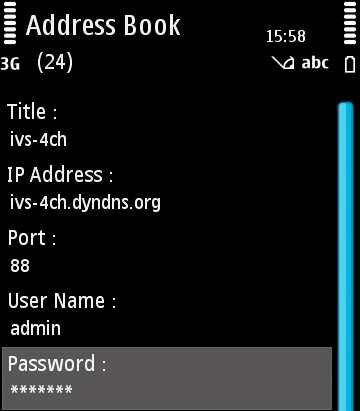
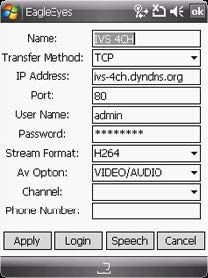
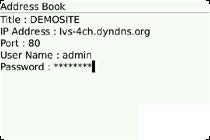
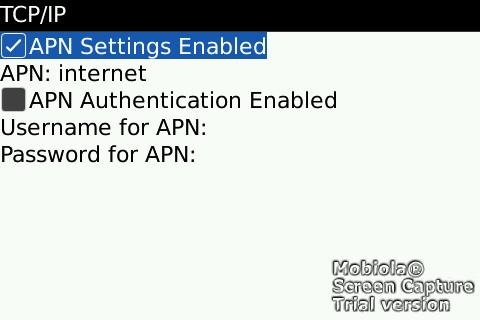
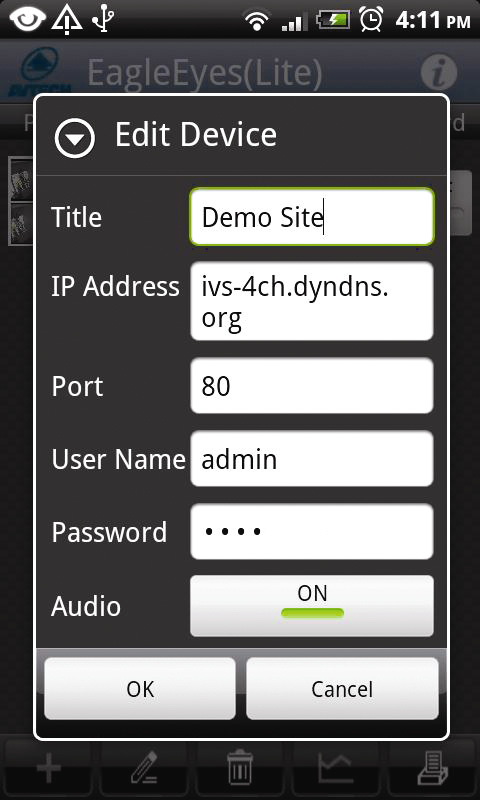
Step 4: Fill in the information needed to access the device you want to add. Then, press “OK” to save and return to the address book.
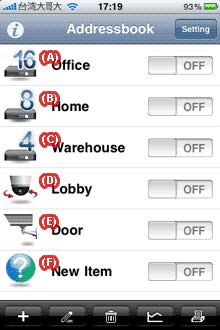
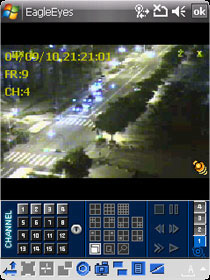
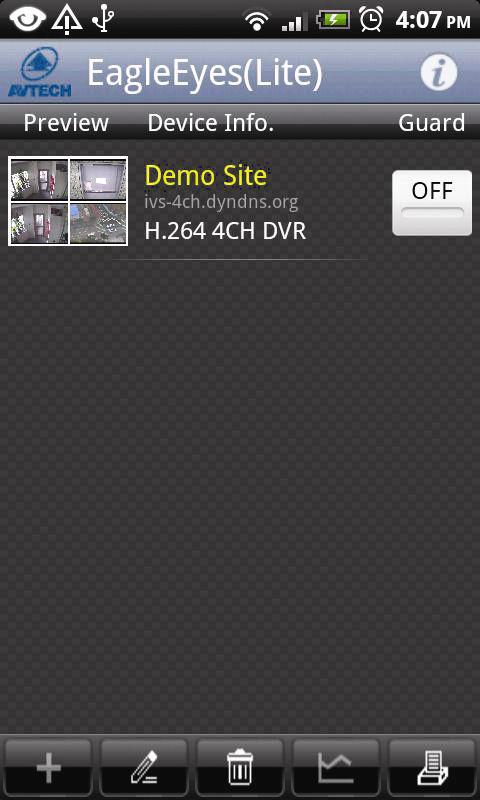
Step 5: Select the item you just added to log into the device immediately.
Note: If you fail to get the correct device type, there might be some connection problems.
 ”, and select “Downloads”.
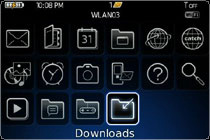

 (EagleEyes Plus) on the desktop of your iOS device depending on which version you’ve installed, and select to enter the address book of EagleEyes.
 at the bottom to add new device connection, and select “Get Type” to check if you can get the correct device type.